
Waist Heart portrait framing
The sample portrait shows the face, both arms and the hips. If you are choosing between two photos, use the one with more room near the elbow. You can crop around the Waist Heart after checking the full frame.
Recreate the Waist Heart trend from a portrait. In this pose, one hand curves against the waist to form a heart. Try it in Collart Motion Sync with the included reference clip.
Start with the arm down and the waist in view. Rest your thumb at the upper side of your waist and curl the fingers toward your hip. The hand traces one side of the Waist Heart. The curve from waist to hip traces the other.
The sample portrait shows the face, both arms and the hips. If you are choosing between two photos, use the one with more room near the elbow. You can crop around the Waist Heart after checking the full frame.

Place the thumb lightly below the ribs. Keep it at the side of your waist so the camera can see both edges of the Waist Heart. If you reach across your stomach, move your thumb back toward the side.

Curl your fingers down toward the hip and leave the palm slightly away from your waist. To check that the Waist Heart reads clearly, look at the clip on a phone. The opening should still be visible at that size.
Keep the other arm relaxed and out of the shape. From the camera angle, you should see a patch of background between your hand and your waist. Turn slightly sideways if the Waist Heart looks like an ordinary hand-on-hip pose. Finish the Waist Heart and pause for a beat. Keep your face, wrist, waist and elbow in the frame. If you are filming a reference, hold the camera still during the reach and the pause. Pause when the fingertips reach the hip. Look for background showing through the gap between the hand and waist.
Download the Waist Heart referenceChoose one person and frame them from head to upper thighs. Leave room at both sides for the elbow to move. A face close-up gives Motion Sync too little of the body to show the Waist Heart.
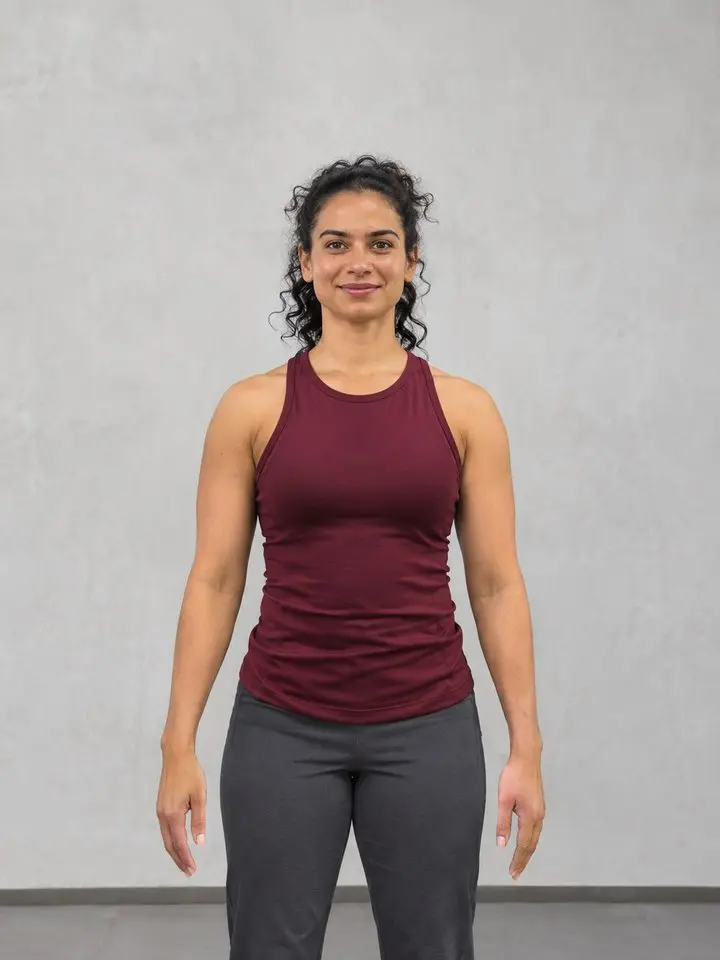
Use a simple background and clothes that show the line of the waist. Soft front or side light makes the fingers easier to see. The Waist Heart depends on the shape you can see in the frame.
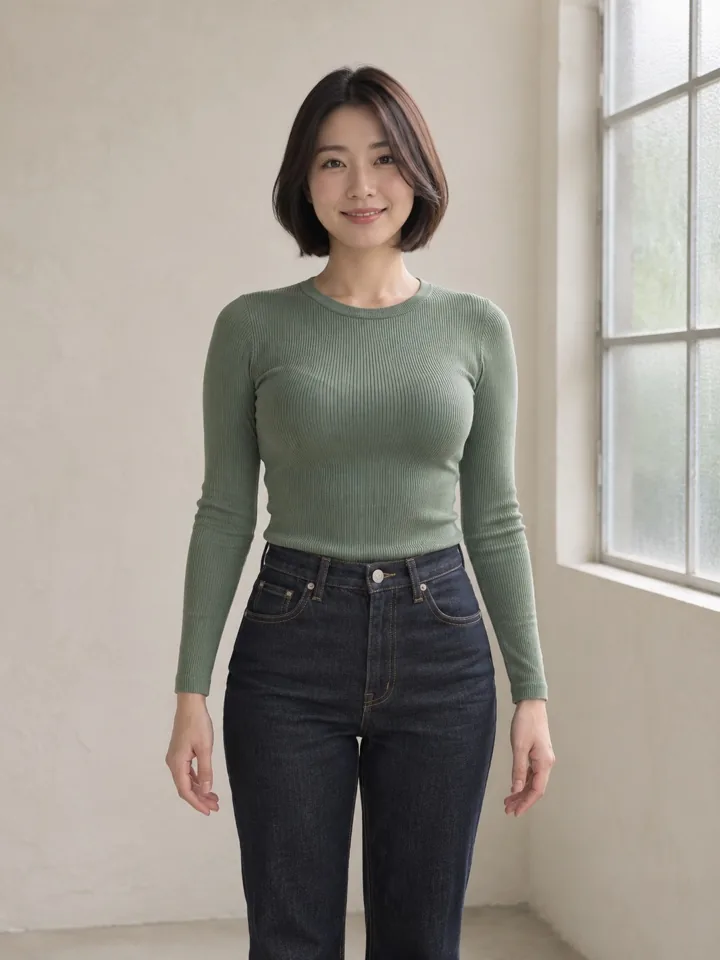
Choose a photo where you can see the fingers and the edge of the waist. Put down any phone or bag, and pull long sleeves away from the wrist. The two edges of the Waist Heart will be easier to check.
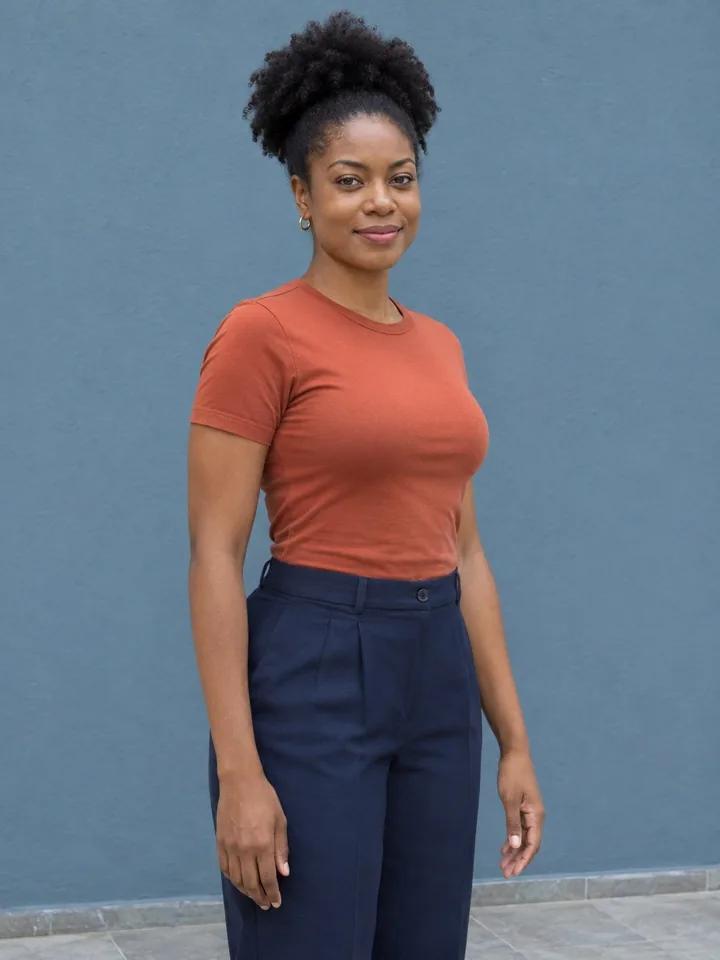
Use a portrait with a similar body angle to your Waist Heart reference. If a group photo is your only option, crop to one person while keeping the face, waist and hips visible.
Open Motion Sync and upload a portrait with the face, arm and waist in view. Leave room around the elbow for the Waist Heart movement.
The five-second Waist Heart reference is ready in the editor. Preview the reach and pause above, or swap the clip for one shot at a similar angle to your portrait.
Review the selected settings and credit cost in Motion Sync. Generate one Waist Heart clip, then check the hand and waist through the full move. If the motion misses the pose, try a clearer photo or a reference taken at a closer angle.
Watch the full reach and pause where the fingers meet the hip. Check the Waist Heart outline, the fingers and whether the face and clothes still look like the photo. Play it again at normal speed before saving.
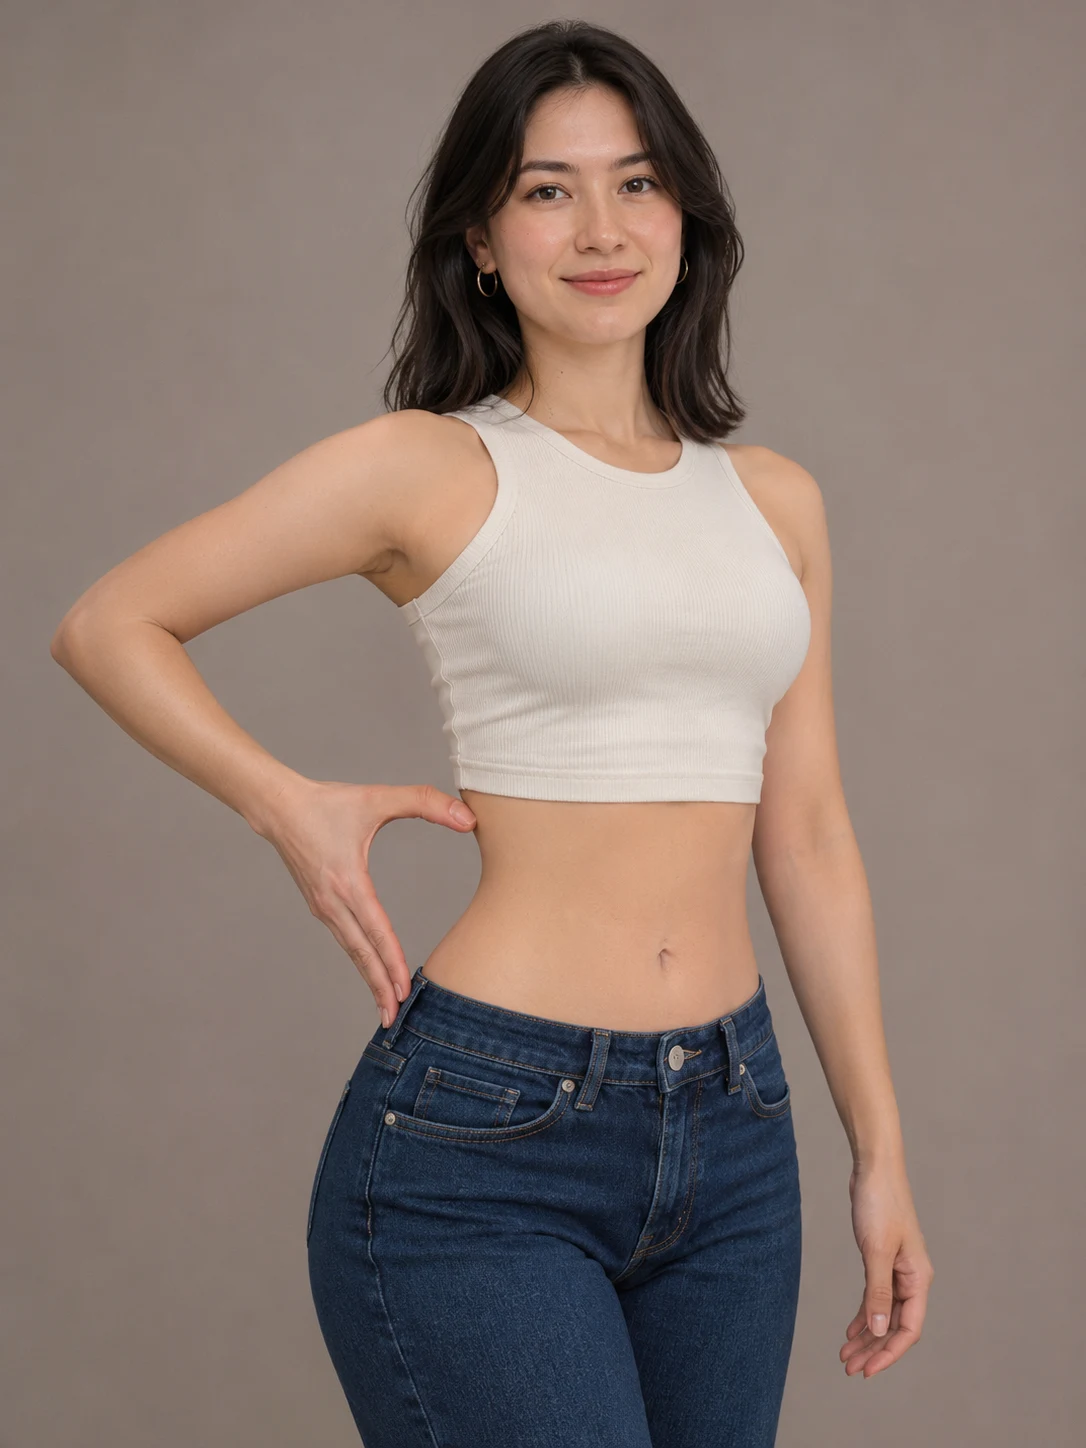
Look for any moment where the free arm crosses the body. Use a Waist Heart reference that keeps the second arm down and shows the reach from the side. That makes it clear which hand should move.
A flat palm closes the gap that gives Waist Heart its shape. Look for a reference with two clear contact points, thumb at the waist and fingertips at the hip. A smaller, slower reach can help you check where the hand lands.
Pause the video and inspect the thumb, wrist and fingertips. If the hand bends or blends into the waist, try a clearer portrait or a slower Waist Heart reference. Change one input at a time so you can tell what helped.
Use a wider photo if the elbow or lower fingers leave the frame. Preview the Waist Heart at the size you plan to post. Check the crop after adding captions so text does not cover the hand or waist.
A relaxed starting pose works well for trying Waist Heart. Use a portrait with the face, arms and waist in view. The reference supplies the movement, so pick a portrait with a similar angle.
Yes. Choose an outfit that lets you see the line of the waist. Check the Waist Heart in the camera preview. If fabric fills the opening, try a different angle or move the hand a little farther from the waist.
Motion Sync displays the credit cost for your selected settings. Check the amount before you generate a Waist Heart video, especially if you change the model or resolution.
Pick a portrait with room around the waist and elbow. Start with the included motion and see how it fits your photo. Look for a clear Waist Heart gap and a steady hold when you review the clip.
Create a Waist Heart video